
Accepting Apple Pay and Google Pay in your Order Form is a great way to improve the purchase experience for your customers. These payment methods offer convenience, security, and speed that traditional payment methods cannot match.
Covered in this Article:
How to use Apple Pay and Google Pay in the CRM?
How do I enable Apple Pay and Google Pay?
Troubleshooting for Google Pay
What will differ in my reporting of transactions and orders?
Can I enable other payment methods like Bank redirects and ACH as well?
How do I disable the other payment methods option after enabling them once?
How to use Apple Pay and Google Pay in the CRM?
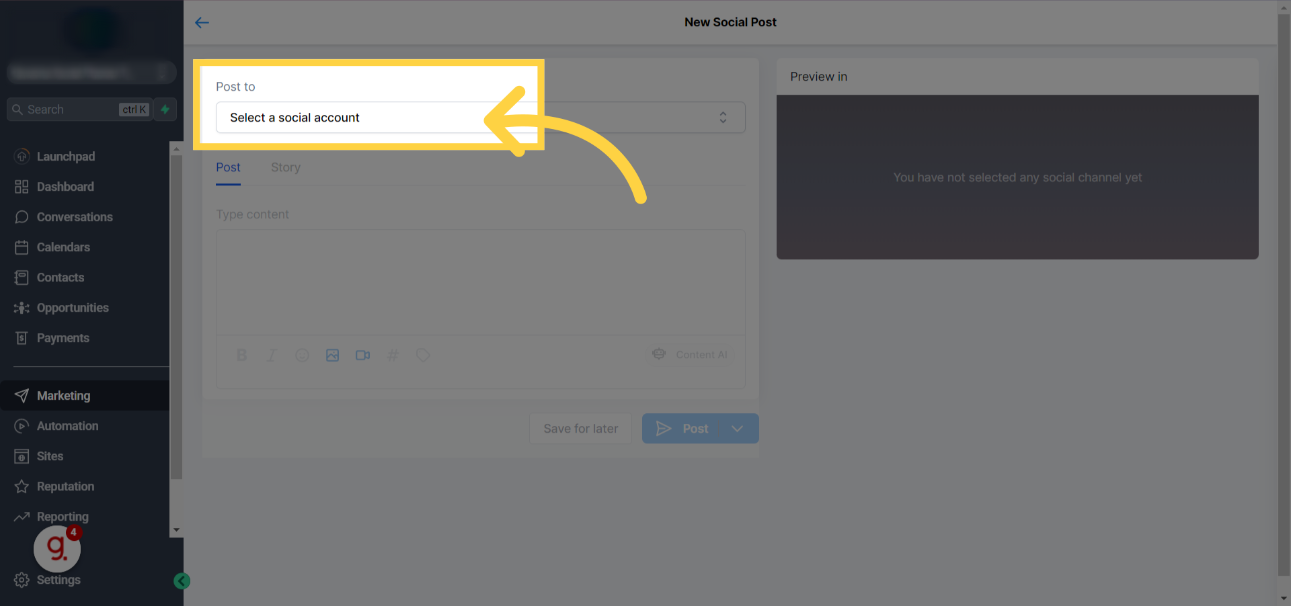
Stripe lets you add Apple Pay and Google Pay as payment options under the “Other” tab on one-step and two-step order forms. Upsells will also work with Apple Pay/Google Pay.

Enabling this option will allow Sub Accounts to enable Apple Pay/Google Pay as a payment method along with the default method of credit card and PayPal (PayPal only shows up if PayPal is enabled under Payments ➝ Integrations)
Your customers will see Apple Pay and Google pay based on their geographic location and the web browser of the end customer. They will be able to use it based on whether or not they have a payment method associated with their Google account/Apple account. Only if both these conditions apply Google Pay/Apple Pay will be visible for payment along with the default choice for a credit card.
Countries and Regions that Support Apple Pay
Countries that Support Google Pay
Currently, supported browsers include Chrome Desktop, Chrome Android, macOS Safari, iOS Safari, and Microsoft Edge for Windows.
Please Note:
This capability only works with Version 2 Funnels.

A view of how the Apple Pay icon will appear in an order form once enabled.

A view of what appears when a client clicks on Apple Pay in an Order Form.

A view of how the Google Pay icon will appear in an order form once enabled.

A view of what appears when a client clicks on Google Pay in an Order Form.
Please note:
There might be a case that the browser is not up to date, Apple Pay and Google Pay are not supported in the customer's country or a relevant credit card has not been added to the customer's Apple/Google account. No option to pay via Apple Pay or Google pay will appear under the "Other payment methods" tab in that case. But the customer will still be able to see the credit card option to pay for the order rather than changing the tab again
How do I enable Apple Pay and Google Pay?
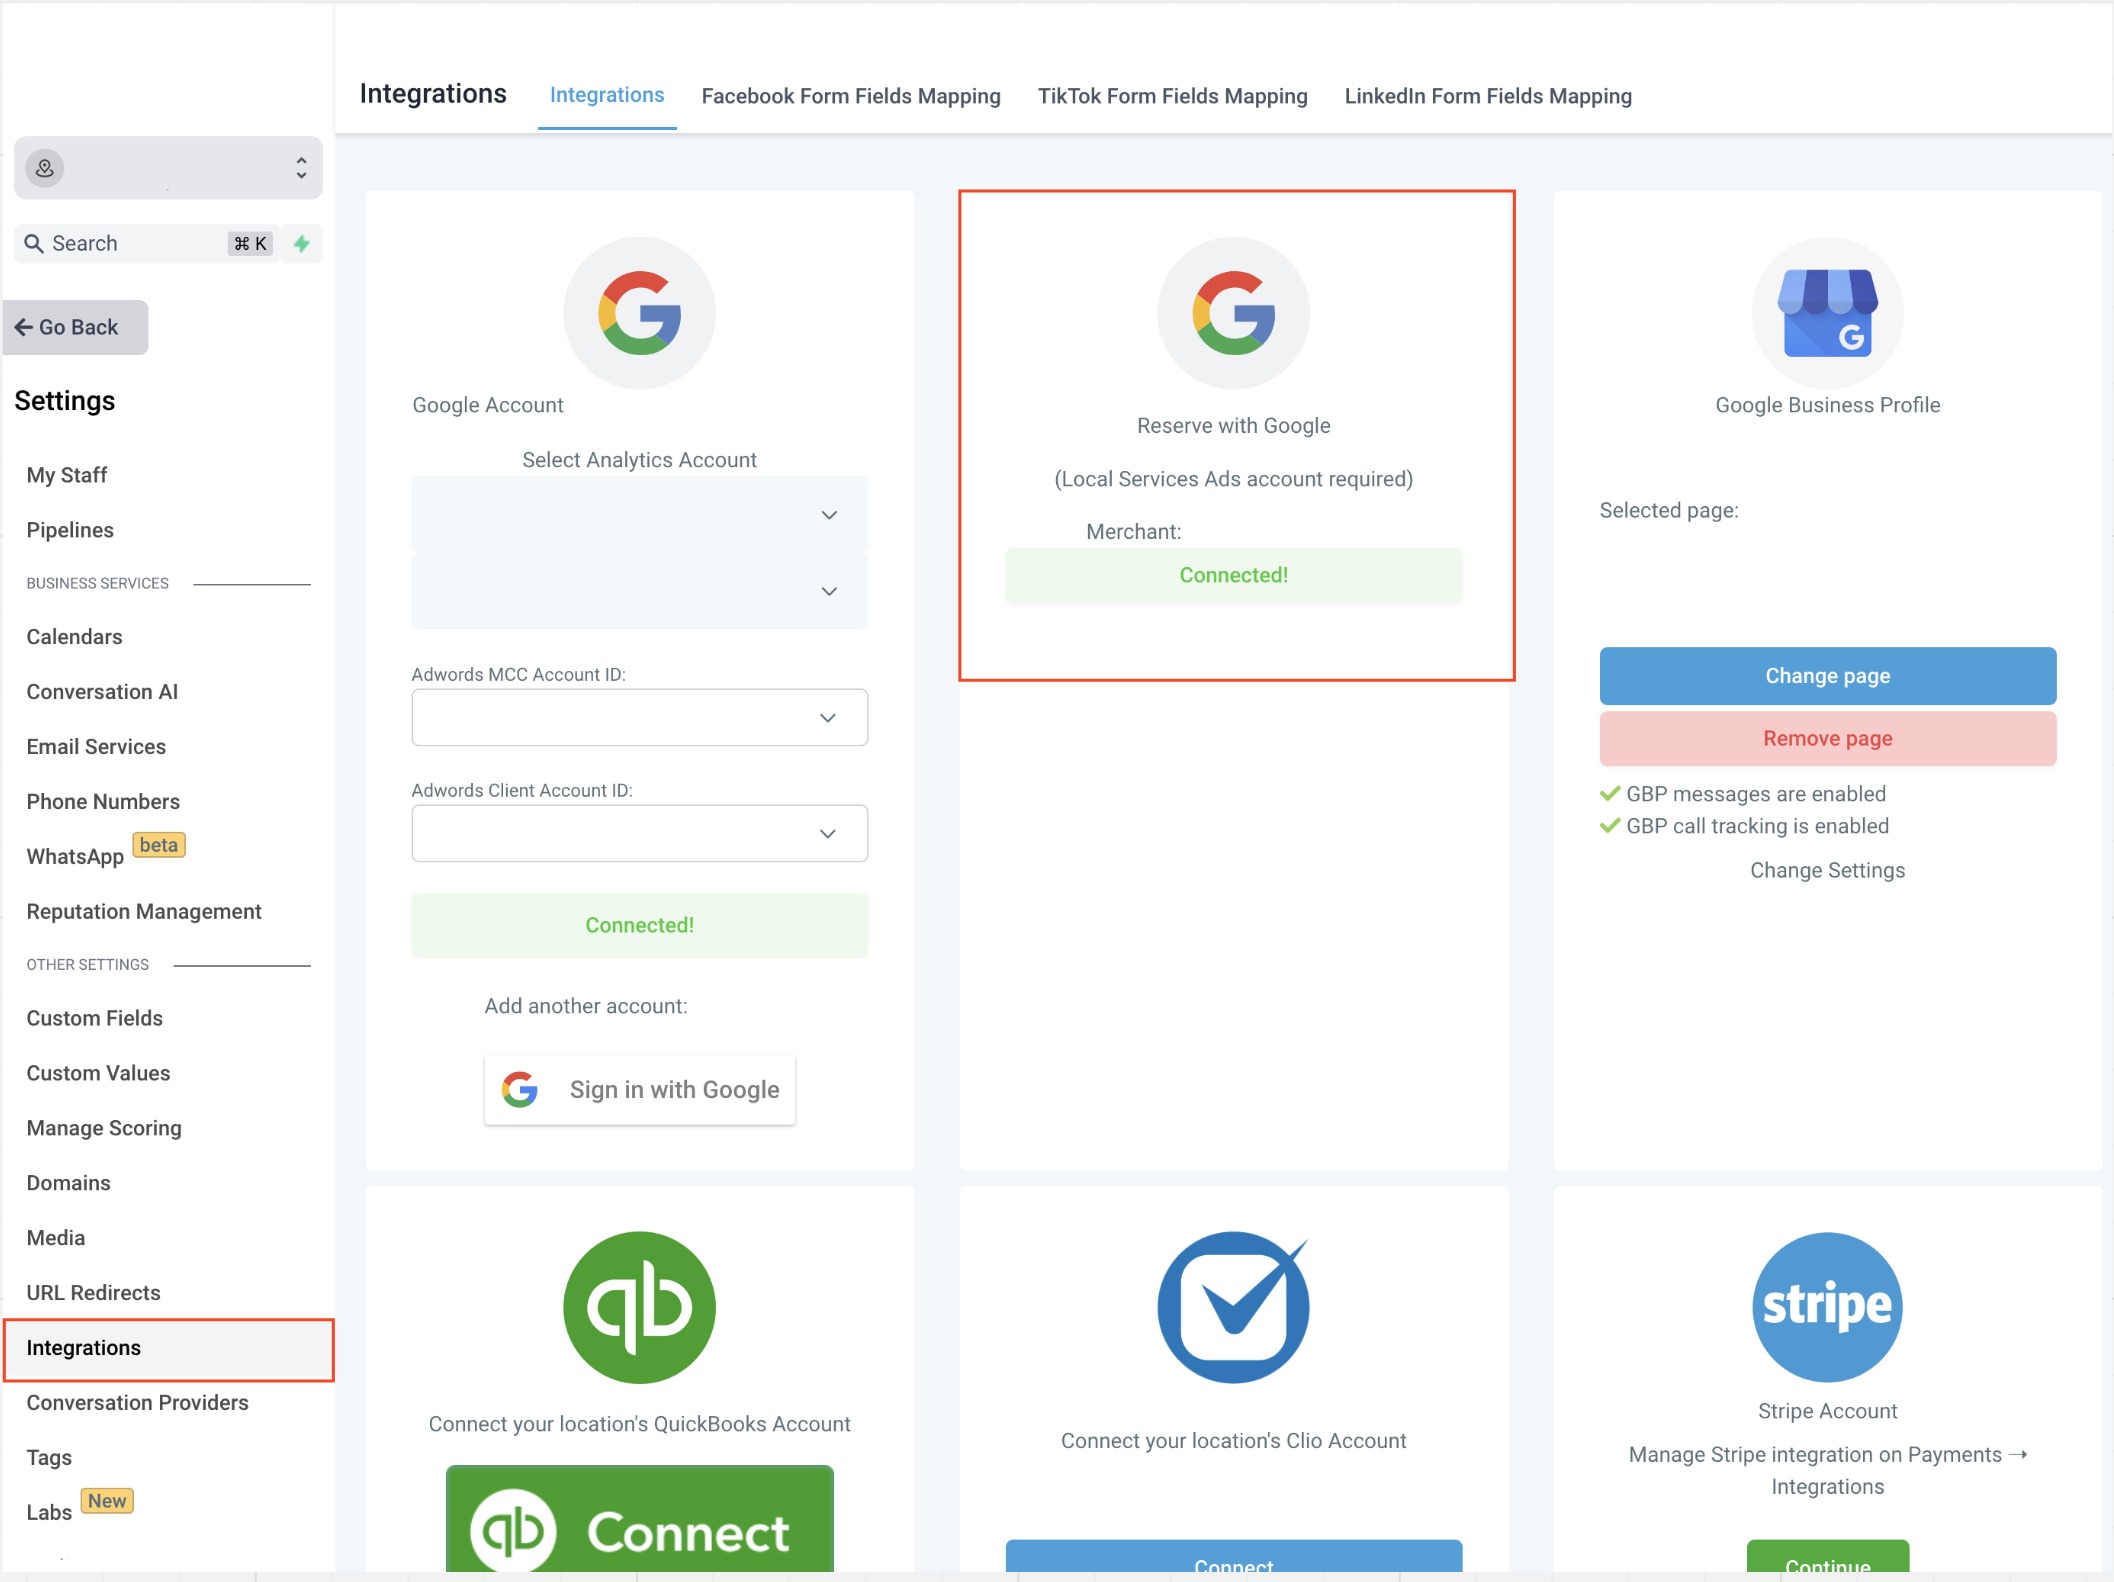
Using Stripe Connect under the Payments ➝ Integrations page is the primary requirement. If you’re using Stripe APIs to connect to Stripe, please use Stripe Connect to use this feature. Once you have connected your Stripe account in Payments> Integrations, a toggle is provided to enable Apple Pay and Google Pay on the order forms.

Troubleshooting for Apple Pay
1. The toggle to enable Apple Pay and Google Pay should be turned on while Stripe is connected to the location
2. Make sure that Apple Pay is available in your country
3. Ensure that the domain on which the funnel is hosted is registered with Stripe. This is an additional requirement for Apple Pay and should ideally automatically happen as soon as the toggle is turned on
a. Head over to your Stripe dashboard on this URL and see if the domain is listed in the Web Domains section
b. If the domain is not listed here, you can manually add the domain by clicking on Add New Domain. This is only intended for a quick resolution; you should raise a ticket with us if it does not automatically register on turning the toggle.
4. If the domain appears registered, ensure that the domain association file is hosted for that domain. This means that a file should get downloaded upon visiting https://example.com/.well-known/apple-developer-merchantid-domain-association if you’re registering at https://example.com
Click here for more information on this.
5. The browser or the device fulfills the following requirements:
The end customer is on the web in Safari, starting with iOS 10 or macOS Sierra
List of compatible devices with Apple Pay
List of participating banks with Apple Pay
Troubleshooting for Google Pay
1. The toggle to enable Apple Pay and Google Pay should be turned on while Stripe is connected to the location.
2. Make sure that Google Pay is available in your country
3. The customer is using Google Chrome or Safari.
4. The customer has a valid card registered with Google Pay.
FAQ
What will differ in my reporting of transactions and orders?
There will be no change in the reporting or tracking of the transactions and orders. Stripe treats Apple Pay and Google pay payments as card payments. All the purchased orders via Apple Pay or Google pay will be reflected on the Orders/Transactions/Subscriptions page.
What is the difference in Stripe pricing for transactions processed through credit cards and Apple/Google Pay?
There is no difference in the pricing between credit card transactions and Apple Pay/Google Pay transactions. They are charged similarly to credit card transactions. Learn More here about Apple Pay.
I’m using PayPal as my payment provider instead of Stripe. Can I provide Apple Pay and Google Pay to my customers?
No, Apple Pay and Google Pay can be provided as payment methods using Stripe Connect only in funnels version 2
Can I enable other payment methods like Bank redirects and ACH as well?
Currently, only Apple Pay and Google Pay can be enabled using Stripe. Enabling other payment methods as well will be upcoming in Q2/Q3 2023
How do I disable the other payment methods option after enabling them once?
Turning the toggle off for Apple Pay and Google Pay on the Stripe connection card on the Integrations page will disable the “other payment methods” tab on the order form.